Wednesday 30 March 2011

A New Card for a New Challenge - "Debs Creations"

Good Morning All, well its still dull and dreary here in Gloucestershire but Im hoping that it will change later like it did yesterday but I wont hold my hopes to high, oh well never mind at least the garden is enjoying the rain.
Todays card has been created for a brand new Challenge Blog Debs Creations this lovely lady is an Australian and creates the most gorgeous Fairies and if your interest in buying them you will find them here, as you probably already know Im a real Fairy nut and have them hanging over my desk and on the wall, even have a door hanging that my youngest daughter gave me a few years ago with "Off with the Fairies" on it and Im sure that makes me quite a devotee of them. Anyway the fairies that Debs creates are stunning, at the moment she has six digi stamps and five rubber stamps, but me being impatient I decided to go for the digi ones, and this is my first card and I decided to use "Ebony" mainly because it was the name of my first Yorkie she was gorgeous and unfortunately I lost her very early at seven years old because of terrible ulcers, mine you, you would have thought she was a Alsation as she thought that she was a big dog in little clothing.
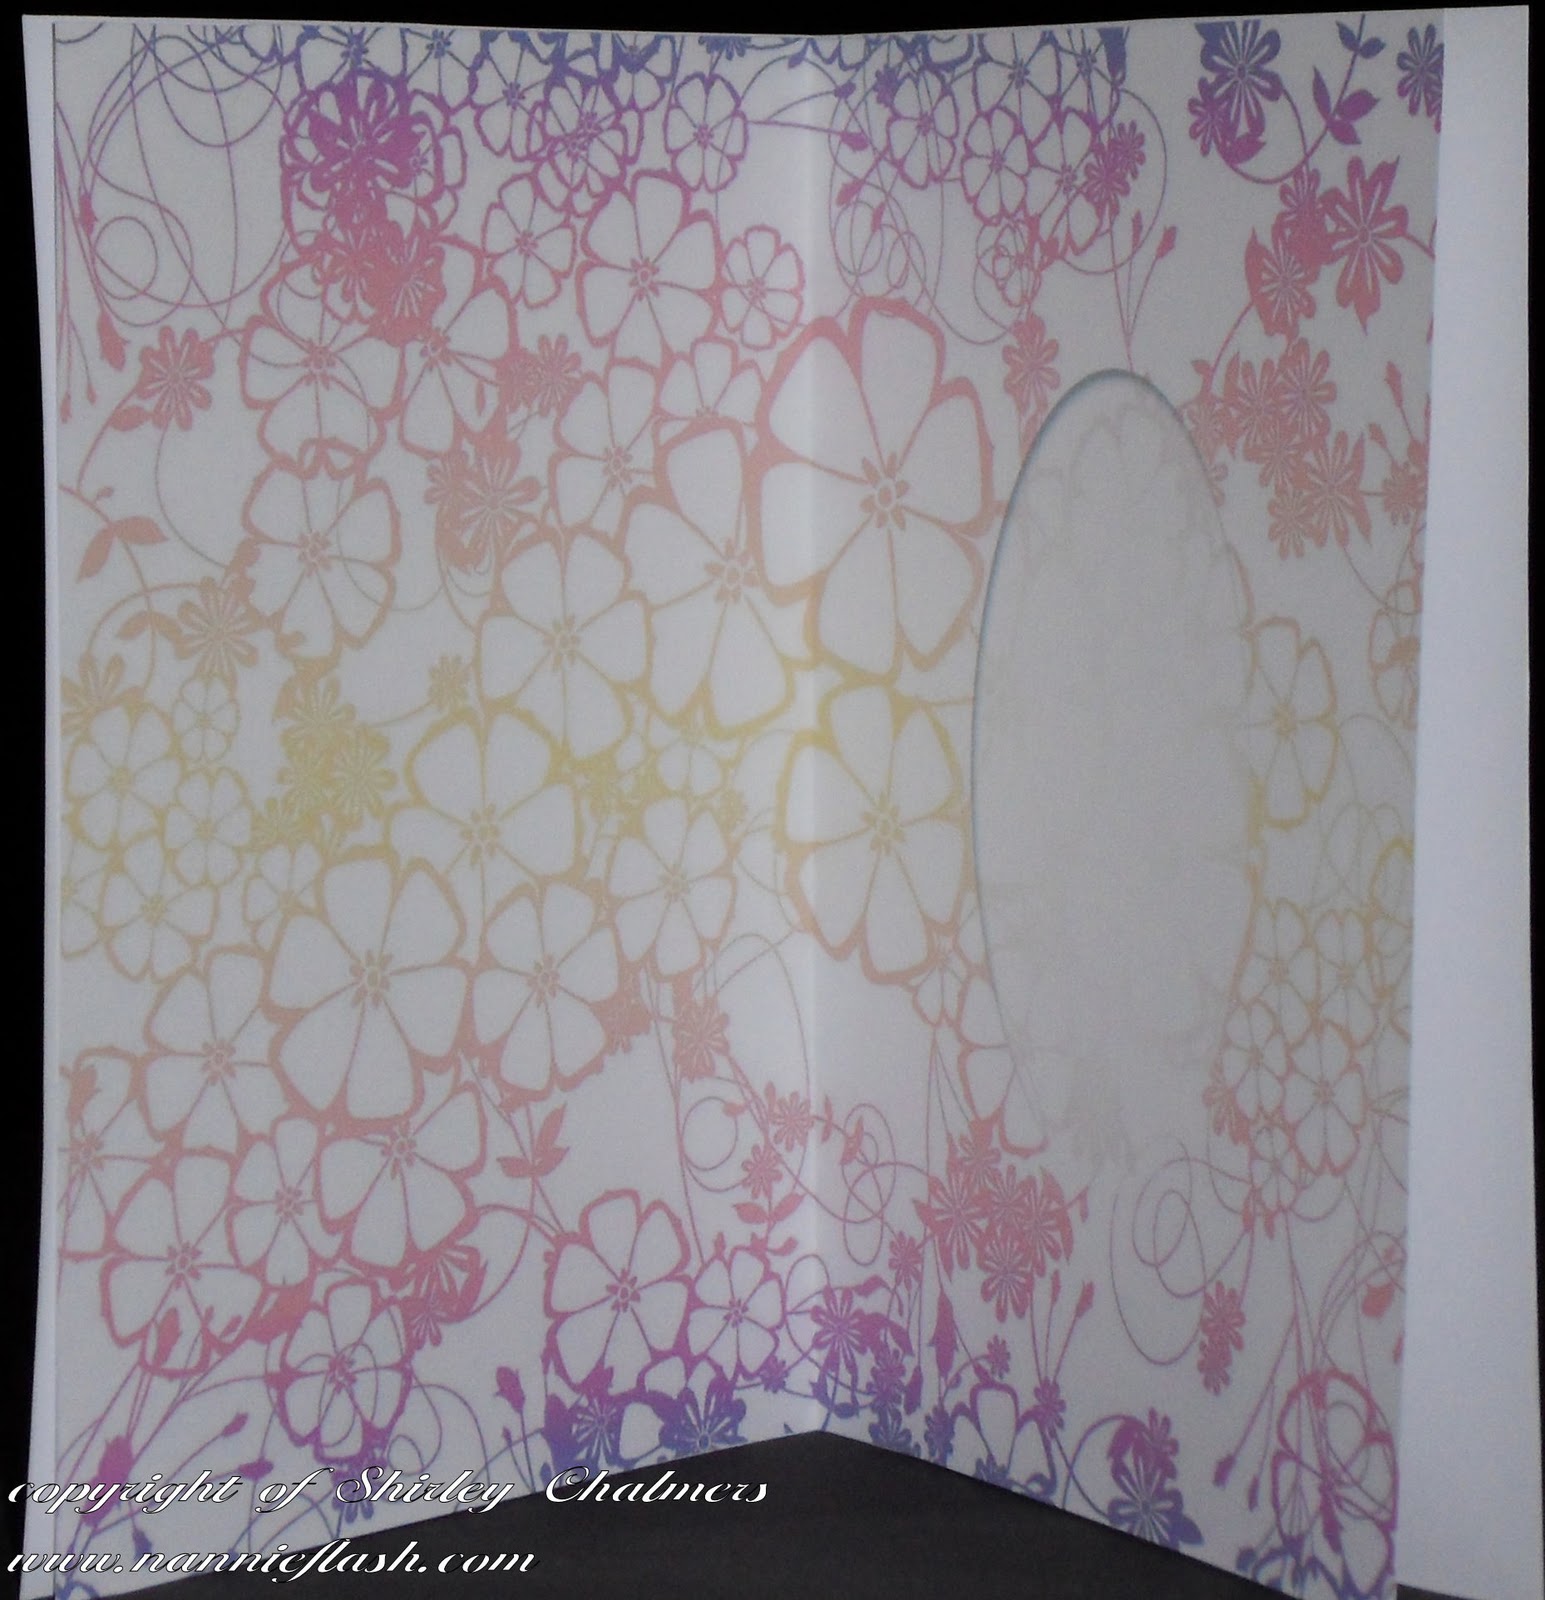
Ive printed her onto white card before colouring her with my copic pens, afterwards I used a oval Nestabilitie to cut her out, and with some green inkpads I used a small leaf stamp to go around the edge. I then cut out a large scalloped oval for the mount. The sentiment was one I bought while at the NEC last week it came on a sheet of lovely sentiments and I just couldnt walk away without it. This was also mounted on a piece of the same green card.
The base card is a 6"x 6" white card with a first mount of dark green card and one of Donna's Bearlymine "Spring Blossoms" Papers a pretty based green paper with flowers all over it, on top of this I have put a large doily that I cut using a brand new doily die by "Cherry Lyn" they are gorgeous dies that I bought from Joanna Sheen,  I do suggest you pop to her webshop and see for yourself there are several circles one in different sizes and even a heart one. On top of this I wrapped my lace around the card with a piece of cream satin ribbon and attached them both to the back of the first mount.
I then positioned my mounted image in the middle with the sentiment at the bottom on the right handside, I popped some green pearls down to opposite corners and to finish of I have used several cherry blossoms in shades of cream, yellow and orange and a few aster heads in a spray in the top left hand corner and attached it to the card with some silicone glue and punched out fern leaves.
This card is to be entered in the following Challenges:-
http://digitaltuesdaychallenge.blogspot.com/
http://atouchofdeb.blogspot.com/
http://scrap-creations1.blogspot.com/
http://toptiptuesday.blogspot.com/
http://scrappyfrogschallenge.blogspot.com/
http://onestopcraftchallenge.blogspot.com/

Monday 28 March 2011

A Card for the Just Magnolia and Magnoia Stamp Challenges

Good Afternoon All, I didnt want to let you down again so Ive decided to post this Challenge Card on my No.2 blog and its for the Just Magnolia's "Bingo" and the Magnolia Stamp Lovers "Ribbons" Challenges, Im using the Ribbons, Pearls and Flowers combination from the Just Magnolia Bingo Card. Ive used this sweet image of Tilda for this card and coloured her with my copic pens before cutting her out with my Rectangle Nestabilitie Die, and then used the Scalloped on for the Mount. The sentiment is one from my stash that Ive used one of my double ended tag die to cut it out and mount it.
The base card is a 6"x 6" white card with a first mount of pink pearlescent card and one of two papers from the First Edition "Love Letters" paper pad, the first is gorgeous pink background with a pattern on, and on top I have cut a strip and used my Woodware Craft strip punch and Ive a scalloped heart one on both sides this was then stuck on top of the base layer. I then positioned two piece of lace across the middle with a satin ribbon wrapped across the middle and attached to the back of the first mount.
I then stuck my mounted image in the centre, with a ribbon bow to the right of it, the sentiment was stuck below on the right hand side, and in the other corner I have created a couple of swirls with some pink pearls. To finish of Ive used three size roses in the top left hand corner and attached them to the card with silicone glue and punched out fern and rose leaves.
This card is to be entered in the following Challenges:-
http://magnoliastamplovers.blogspot.com/
http://justmagnolia.blogspot.com/
http://www.gingerloftchallenge.blogspot.com/
http://www.letsinkitup.blogspot.com/
http://scrappyfrogschallenge.blogspot.com/
http://stamptacularsundaychallenge.blogspot.com/
http://www.creativeinspirationspaint.blogspot.com/

Sunday 27 March 2011

Santa for Sunday Card and two other Challenges

Good Morning All, sorry Ive been a bit lapse this week posting any cards its been one of those weeks, I have been making cards but I carnt post them yet due to my DT commitments, anyway for the next 3 days on my No.1 blog there will be a card a day on there and hopefully even one for today if I can get my arse into gear and finish of one Ive already started.
Anyway todays card is mainly for my weekly  challenge card for the Santa for Sunday Challenge over on Facebook, if youve not seen whats going on perhaps it might be a good idea to pop across and have a look, heres the link theres no prize its just a way of collecting a stash of Xmas cards for next Christmas, anyway this weeks challenge is to create a card without Green, and hopefully this one will fit the bill, Im also going to enter it into the Bah Humbug's "Christmas Trees" and Winter Wonderland's "Baubles" and hope they will accept it for both of those as well. Anyway Ive used this image from Whiff of Joy its called "Drummer Boy" and coloured it with my promarkers, Im not so keen on these pens as the nib is so fat and Im also not sure how to get the blending right as I can with my Copics I suppose its just a matter of practicing so this is my second attempt to do that. I then cut it out with my Rectangle Nestabilitie Die and cut a larger one for the mount from a piece of blue pearlescent card, the sentiment is the first line of the song "Little Drummer Boy" and I printed it from my computer and mounted it in the same way as the image.
The card is a 6"x 6" white card with a first mount of blue card with one of two papers from the Papermania pad "Winter Wonderland" this first paper has an all over pattern of baubles and fir trees and sentiments, the second mount is a blue pattern background with just fir trees on it, this also has been mounted on another piece of the same blue card and positioned to the left of the card, I then stuck my mounted image towards the top in the middle, and the sentment at the bottom on the right.
To finish of Ive used some shrink plastic and created some baubles, coloured them, then shrunk them to a small size before sticking them down the card on the tree branches.
This card is to be entered in the following Challenges:-

Tuesday 22 March 2011

Heres another Santa for Sunday Card

I do apologise for not posting many cards at the moment but Ive been taking a bit of a break, I have done my DT cards but nothing to post on my blogs, actually this card was made a couple of weeks ago for the Santa for Sunday Challenge over on Facebook, and do you know Ive just noticed the sentiment is on the card upside down, how daft is that? dont answer, I think I must have been having a serious senior moment.
The challenge was for a Gingerbread man, and as I dont actually have an image or a stamp I used this digi set from Nitwits for my card, and the sentiment was a Just-Rite one, but I must have put the little chap in the stamp upside down and didnt realise till just now that I had, so so sorry about that.
The papers are quite gorgeous as you can see, its a 6"x 6" card with three of the papers from that Gingerbread set, even the image is as well, and this was printed onto white card then cut out with my oval Nestabilitie die, and I used the scalloped one for the mount.
I shant be around on this blog for a couple of days as tomorrow Ive got the Paper Shelter Challenge to deal with on my No.1 blog and we are of to the NEC on Thursday hopefully lets hope my back/hip quietens down by then, I did it on Saturday when I decided to do the mowing of my grass, oh well such is life and old age.

Sunday 20 March 2011

"Sundays with Santa" A Snowflake Challenge

Good Morning All, sorry Ive not been by for a couple of days we went out for a while on Friday for a change of scene and yesterday I did myself a bit of a mischief, I walked into town to post a parcel then when I got back I decided to start a bit of gardening and thought as hubby was busy with his volunteering I would make a start on the grass, a bad idea I seem to have pulled a muscle in my hip/back and Im rather suffering with it now, I do hope it shifts by Thursday as Im hoping to go to the NEC and thats one trip I dont want to miss.
Anyway todays card is for Sundays with Santa its a Snowflake card, and to be honest this is not my best attempt at Parchment but its a couple of years since Ive done some and its turned out a lot worse than I expected but I didnt have time to start again, and on the whole it will pass though seeing it now I realise theres a lot of things that have turned out very rough. Ive posted it on Facebook in Pops challenge and hope it gives the rest of the girls some pleasure though Im begining to think it might have been better to have passed on this weeks challenge.
Anyway hope you all have a wonderful day, I do hope the sun comes out like it did yesterday it was a beautiful day but at the moment is still very cloudy and a bit cold. Oh well I suppose at least its dry.

Friday 18 March 2011

A Card for Mo's Challenge - "Lets Hear it for the Boys"

Good Morning All, well this is the second card Ive posted this morning, just finished over on my No.1 blog now its this ones turn, this card today has been created for Mos Challenge "Lets here it for the Boys" and Ive used her little chap here which is titled "Chickies", Ive printed him onto white card before colouring him with my copic pens afterwhich Ive used my large circle Nestabilitie Die to cut him out, then used a large scalloped one for the mount. The sentiment is one from TLC and its free, Ive printed this also onto white card then used my rotatrim to cut it out, Ive also mounted this onto a piece of pale green pearlescent card.
The base card is a 6"x 6" white card with a first mount of green card, and one of two papers from the Papermania's "Spring Time" pack of papers, the first paper is a all over sentiment with a line of chickens down the edge, the second paper which Ive cut in a strip is a striped pattern with eggs down the bottom, this I have used a chicken border punch on both edges and stuck it down on top of the first layer, then positioned my mounted image in the middle and my sentiment at the bottom on the right hand side.
To finish of Ive used two green buttons and threaded through a green bakers twine and tied it in bows and then attached them to the top on the left hand side.
This card is to be entered in the following Challenges:-
http://mosdigitalchallenge.blogspot.com/
http://www.craftysentiments.blogspot.com/
http://digidoodleshopsbest.blogspot.com/
http://stampingvacation.blogspot.com/
http://creativecottagechallenge.blogspot.com/

Wednesday 16 March 2011

A Card for two Challenges

Good Afternoon All, so sorry this poor blog has been rather ignored since the weekend Ive had lots of Challenges to sort out, so I thought it was time to post a card, and have created this one for the Lili of the Valley Challenge "Say it with Flowers" and Creative Craft's "Lace" Challenge. Ive used this sweet fairy with her dandelion bits and wild roses for my image and coloured her with my copic pens, the Nestabilitie Ive used on this is one the special Edition ones from C&C, Ive then used the same die to create the mount by drawing around it onto mauve card then cutting it with my scissors. I did use some mauve inkpad around the edge then a swirl stamp just to give it a bit more mistyness. The sentiment is yet another of the LOV images and this has been treated in the same way as the mounted image.
The base card is a 6"x 6" white card then for my first mount Ive used a piece of mauve pearlescent card with one of three papers from the Kay Miller's "Wings" downloads digi sets, the first is a plaid design, and then two strips of mauve and green that have had the edges punched with a butterfly punch, I should have said that these two papers have butterflies on. On top of this is a strip of mauve card and this has been put through my cuttlebug and a embossing folder.
Around the middle I have wrapped a piece of lace and then a strip of mauve satin ribbon and attached it to the back of the first mount. The mounted image was then positioned in the middle and for a change the sentiment is on the left hand side at the bottom. To finish of Ive used one large curly rose in white and mauve in the top left hand corner mounted on some silicone glue and punched out leaves.
This card is to be entered in the following Challenges:-

Saturday 12 March 2011

Sundays with Santa - "Christmas Tree"

Good Morning Ladies, well its Sunday again and its time for "Santa on Sunday" and as we missed last week (we didnt have a theme) so this week is a card containing  a "Christmas Tree" and Ive used this lovely set of Art Impressions stamps to create my card. I used the tree and my Marvy Le Plume pens on it by using the nib to ink the edges, then I stamped it onto water colouring paper then used my damp brush to pull out the colour. Ive done the same with the birds, lambs and the basket of tree ornaments.
I then drew a line to create the lights, and then with some masking fluid I masked of where I wanted the snow to fall. I have also used some stickles on the lights and baubles just to give it extra sparkle. I then rubbed of the masking fluid to make it look like the snow had fallen on the lambs.
The actual base card is a 7"x 6" white card with a first layer of dark blue card, and Ive used a piece of blue pearlescent card on top, but because the image is large Ive just layered this onto dark blue card and positioned the image in the middle. The sentiment is one of the LOV christmas seals and this was stamped onto white card then Ive used the circle Nestabilitie die to cut it out and a larger on and blue card for the mount.
It youd like to pop across and maybe take part just click on the Santa for Sunday name and it will take you there, its Pops idea to start a collection early for next Christmas, there are quite a few girls taking part and if youd also like to become one or group do please come to visit as its a bit of fun and its useful to start collecting early so you can at least have quite a number by December.
This card is to be entered in the following Challenges:-

Friday 11 March 2011

A Card for Many Challenges

Good Afternoon All, well Ive been busy again and this is the second card Ive posted today or I should say the first on this blog and the other was on my No.1 blog. This card is for five challenges, and they are as follows Lili of the Valleys "Say it with Flowers", Fab & Funky's "Make if Girly", Simon Says "Anything Goes", ABC's "P is for Pearls" and lastly Craft your Passions "Anything Goes". Ive used this brand new stamp for LOV and its so sweet, Ive stamped it onto white card and coloured it with my copic pens before cutting it out with my Nestabilitie Label Die No.1 then drew around the die to create the mount our of pink card, the sentiment is one from my stash and it was treated in the same way with a small No.1 die.
The base card is a 6"x 6" white card with a pink pearlescent card for the first mount and one of three papers from the "Honey and Hugs" Papermania papers, the first one is a pink background with white flowers, the second a blue flower pattern is in a strip thats had one of my Martha Stewart border punch used on both edges. And the last paper is a pink and white stripe thats been mounted on another piece of pink card. These were stuck down the card, then I wrapped a pink satin ribbon around the middle with a seam binding ribbon on top, they I made a double bow with some of the seam binding and stuck to the right hand side.
On top of this I have stuck my mounted image with the sentiment below on the right hand side. I then created a pink pearl swirl at the top on the right, then to finish of Ive used five pink roses of different sizes and some punched out rose leaves to create a flowers spray at the top on the left.
This card is to be entered in the following Challenges:-
http://liliofthevalleythursdaychallenge.blogspot.com/
http://simonsaysstampschallenge.blogspot.com/
http://fabnfunkychallenges.blogspot.com/
http://abc-challenge.blogspot.com/
http://www.craftyourpassionchallenges.blogspot.com/

Sunday 6 March 2011

Sarahs Creat and Craft Show - Tuesday 8th at 10am

As Ive already anounced my friend Sarah Hallam of Pearless Designs will be releasing on Tuesday a brand new Cd called "Peo and Patsy"
This Cd was created to help new crafters to create cards without to much hassle, you just pop the cd in your computer, look, decide, click on image and then print and create, and its as simple as that. The cd covers lots of occassions and they are beautifully coloured and the papers are stunning, I carnt tell you how clever our Sarah is in the way she creates these images you will have to find out for yourself, if youd liked to pop across to her own website Peerless Designs you will see for yourself just how talented she is, she has several CDs on her website and you can buy them not only from Create and Craft but directly for her and you dont have to pay postage either. Anyway I thought I would post a couple of the samples that I created for her show which will got out at 10am on Tuesday 8th, please do make a date and see for yourself just how brilliant I think she is.

This is the Insert for the above card

And this is the Insert for the above card

This card is made with one of Sarah's no-stamp images, and I have coloured it with my copic pens, then created the card with papers from the Cd. The sentiment is one of the Just-Rite stamps and coloured like the image, then I used a circle Nestabilie Die to cut it out.
And this is the Insert that goes with above card

These cards were so easy to make and I was a bit concerned I had made them to quickly but Sarah was thrilled with the end results, so if I can do Im sure anyone will find the CD a brilliant standby edition to their craft stash for instant cards in a hurry.

Thursday 3 March 2011

A Card for the House Mouse & Friends Challenge

Good Morning Ladies, wow I bet your saying shes actually got her post done early, actually the card was done last night and I just needed to take some photos. Anyway as hubby is doing a bit of extra volunteering today I thought Id make an early start and get this card posted on my No.2 blog, this is for the House Mouse and Friends "Multi Fold" Challenge, and Ive created a twisted easel one for this. Now I know you are probably saying it looks difficult but I can assure you it isnt, instead of folding the front cover straight across you fold it from corner to corner instead, you do have to be careful afterwards when folding down the front card as it will twist and lay at an angle to the inside but its a piece of cake so do have a try.
The image has been stamped onto white card then Ive used my copic pens to colour it after which I used the Nestabilitie Die Label No.17 to cut it out, then used the die to draw around on another piece of card for the mount. The sentiment is one I found on the internet while googling "Flying Sayings" they are quite a good source of different ones.
The base card is a 6"x 6" white card with a first mount of orange pearlescent card, I have also used the same card for the inside, the two papers Ive used are from the First Editions "Bloom and Grow" set, a pretty leaf pattern for my first paper on a white/cream background, the second is a piece of the green paper with a yellow leaf pattern on but I cut the front cover in a square and used the leaf all around border punch and corner set by Martha Stewart for this one, and for the inside I used a strip and have just done the two edges. The third mount is just off cuts of the first paper thats been turned over (its a double sided paper) this has a orange background with spots on, these were stuck across both the inside and out on some of the left over orange card, then across the middle of both I have wrapped a wide orange satin ribbon around and attached it to the back.
On the inside I have put my sentiment, and on the front my mounted image, to finish of I used five orange roses of different sizes and colours with punched out leaves to create a spray in the top left hand corner and stuck to my card with silicone glue.
This card is to be entered in the following Challenges:-

Wednesday 2 March 2011

One Card three Challenge

Good Afternoon Ladies, Ive at last got around to making a challenge card to cover several challenges and they are as follows Penny Black at Allsorts "Welcome Spring", Penny Black Saturdays "Pearls and Lace" and Sir Stampalots "Spring is in the Air" and I love this cute image of a hedgie in his flowerpot looking up at the bee buzzing around his flower. Ive stamped the image onto white card then used my copic pens to colour him, after which I used my Nestabilitie Die Label No.17 to cut him out and then used the same die to draw around and create a mount for it. The sentiment is one of the free TLC images and Ive printed this onto white card and mount this also onto a piece of the same couloured card.
The base card is a 6"x 6" white card with a first mount of green pearlescent card, and the first paper Ive used is from Donna of Bearlymine Designs "Spring Flight" papers a yellow background with bees and flowers on of various colours, pinks, yellow, and white, the second paper is a yellow based one with little yellow hearts on, the third is a piece of the same green card that had the edge punched with a lace punch and the same has been done with the fourth piece of paper which is another yellow based paper with flowers of blue and pink on, again Ive used the border punch down the edge. I then wrapped a piece of lace with some seam binding ribbon threaded through the holes and have attached it to the back of the first mount.
The mounted image was then positioned to the left hand side and the sentiment was put at the bottom on the right, I have stuck several white pearls down the edge of this side at the top, and then popped a white flower on the lace also at the top.
This card is to be entered in the following Challenges:-